 how-to
Tips for Natural Looking Portrait Photography
Table of Contents
- Why Natural Looking Portraits Start With Connection
- How to Pose for Natural-Looking Portraits
- Natural Light Portrait Photography: Reading Direction and Quality
- Camera Settings for Portrait Photography
- Outdoor Portrait Photography Tips for Difficult Conditions
- Natural-Looking Retouching and Editing
- Consent, Privacy, and Respectful Portrait Direction
- Frequently Asked Questions
Last Updated: October 6, 2026
Why Natural Looking Portraits Start With Connection
Tips for natural looking portrait photography begin long before you touch a camera, with the person standing in front of you.
Technique matters, but connection comes first. A stiff subject will defeat perfect light every time.
Natural looking portrait photography is the practice of capturing a person's genuine expression and posture using real light, honest direction, and minimal interference.
Rapport Before Camera
Build rapport before the camera comes out of the bag. Spend the first five minutes talking about anything except the shoot, their music, their week, their nerves.
A few habits that work:
- Show them the back of the camera early so they see they look good
- Tell them what you are doing and why at each step
- Keep your own energy calm and steady
The subject reads your face constantly. If you look worried, they will tighten up.
Direction That Sounds Like Conversation
Give direction as a suggestion, not a command. Instead of "chin down, shoulders back," try "imagine you just heard your song on the radio for the first time."
Small, specific prompts produce real expressions; vague orders create stiff bodies. A few we use:
- "Tell me about the last show that went badly."
- "Look at the lens like it owes you money."
- "Take a breath and let your shoulders drop."
How to Pose for Natural-Looking Portraits
The best pose is the one the subject forgets they are holding. How to pose for natural-looking portraits comes down to movement, not stillness.
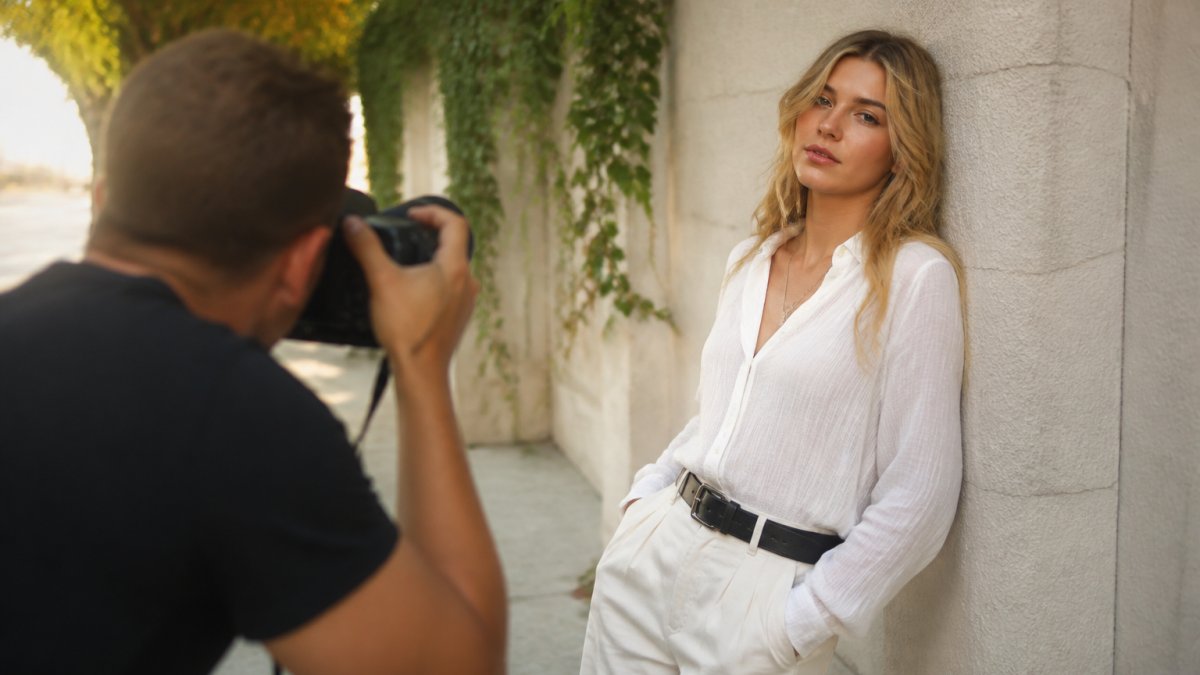
Give the body something to do. A hand in a pocket, a weight shift onto one hip, a lean against a wall. Idle bodies go rigid. Busy bodies relax.
Posing by Body Type, Age, and Comfort Level
There is no single pose that flatters everyone. Adjust to the person in front of you.
- Broader shoulders: angle the body slightly away from the lens to slim the frame
- Shorter subjects: shoot from slightly above eye level to add height
- Older subjects: softer light and a gentler head angle reduce hard shadows in lines
Ask what they like about themselves. Then build the pose around that answer.
A Repeatable Workflow for People Who Feel Awkward in Front of the Camera
Some people freeze the moment a lens points at them. A fixed workflow removes the guesswork. Our sequence, in order:
- Chat for five minutes with no camera in sight
- Show one test frame so they see the result early
- Start with easy full-body poses against a simple background
- Move into movement prompts: walking, turning, laughing
- Tighten to head-and-shoulders once they have settled
- Review two or three frames together and adjust
- Finish with the shots they came for while energy is still high
The order matters. Confidence builds through the session, so save the hardest frames for last.
Exact Prompts That Produce Real Expressions
Here are the exact lines we use, grouped by what they fix:
To loosen a tense jaw and shoulders:
- "Take a breath and let your shoulders drop on the exhale."
- "Shake out your hands like you just finished a set."
To create a genuine laugh:
- "Tell me about the last show that went badly."
- "What is the worst advice you have ever gotten about your music?"
To get a confident, direct gaze:
- "Look at the lens like it owes you money."
- "Imagine you just heard your song on the radio for the first time."
To create movement without a pose:
- "Walk toward me and stop when you feel like it."
- "Turn away, then look back over your shoulder when I count to three."
Posing Musicians and Performers Specifically
Musicians have an advantage: they already know how to hold an instrument, and that muscle memory reads as natural on camera.
- Guitarists and bassists: let them hold the instrument in playing position, then ask them to look up from the fretboard mid-song. The transition from focused to present is the shot.
- Vocalists: a hand near the mic or a slight lean into an imaginary mic stand creates a performance frame without a stage.
- Drummers: shoot from a low angle behind the kit, or have them rest sticks on their knees and lean forward.
The One Rule That Beats Every Pose
If a pose feels unnatural to the subject, it will look unnatural on camera. Ask them to shift, breathe, or move until the position feels like something they would actually do. A slightly imperfect pose that feels real beats a technically correct pose that feels borrowed.
Natural Light Portrait Photography: Reading Direction and Quality
Natural light portrait photography is the skill of reading two things: direction (where the light comes from) and quality (how soft or hard it is).
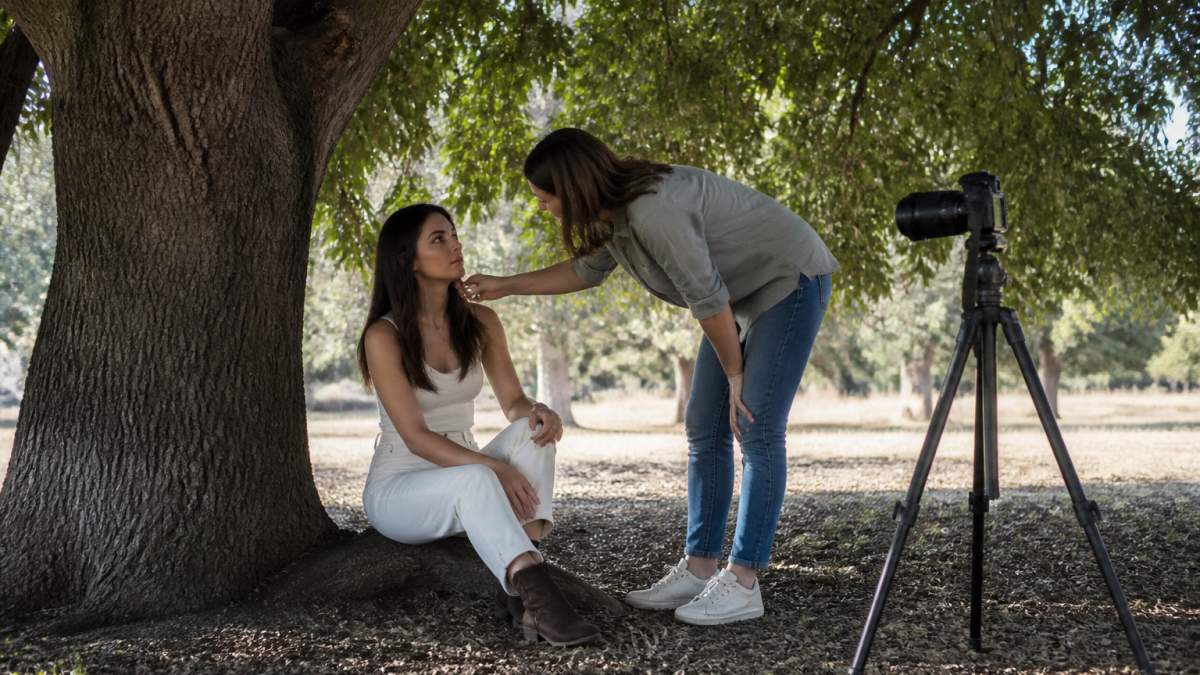
Hard light from direct sun creates sharp shadows and squinting. Soft light wraps the face and hides imperfections. Most of the time, you want soft.
Open Shade, Backlight, and Catchlights
Open shade is the most reliable setup for beginners: put the subject in the shadow of a building or tree, facing the open sky.
Backlighting places the sun behind the subject, creating a glowing rim light along the hair and shoulders that separates them from the background.
Catchlights are the small bright reflections in the eyes. They make a portrait feel alive.
Camera Settings for Portrait Photography
Camera settings for portrait photography should serve the look, not the other way around. Start with aperture, then adjust the rest.
The Exposure Triangle in Portrait Terms
Every portrait setting is a trade-off between three controls. Understanding what each does to the face, not just the exposure, separates a snapshot from a portrait.
- Aperture: f/1.8 to f/2.8 for soft, blurred backgrounds. Wider apertures isolate the subject but narrow the zone of sharp focus, so focus on the eye closest to the lens. Stop down to f/4 to f/5.6 for couples or small groups so both faces stay sharp.
- Shutter speed: 1/125s or faster to avoid blur from small movements. For musicians mid-performance or subjects who laugh and gesture, push to 1/250s or faster. If you are hand-holding a longer lens, match the shutter speed to the focal length as a starting point.
- ISO: as low as the light allows, then raise it only when needed. Modern cameras handle ISO 1600 to 3200 cleanly, so do not sacrifice shutter speed to keep ISO at 100 in dim light.
Focal Length and Facial Proportions
Focal length changes how the face looks, not just how much fits in the frame.
- 35mm and wider: stretches the nose and widens the face when used close. Useful for environmental portraits where the subject is small in frame, not for tight headshots.
- 50mm: a natural field of view that matches human perception. Good for full-body and waist-up portraits.
- 85mm: the classic portrait length. Flatters facial proportions and compresses the background gently.
Metering and Exposure for Natural Light
How you meter matters as much as what you set.
- Evaluative or matrix metering: a good default for evenly lit faces in open shade.
- Spot metering: meter on the skin, not the background, when the subject is backlit or against a bright sky. This keeps the face exposed correctly and lets the background blow out if needed.
- Exposure compensation: when shooting backlit portraits, add positive compensation (often +0.7 to +1.3 stops) to keep the face from going dark. When shooting a subject in bright sun against dark shade, subtract.
White Balance and Skin Tones
Auto white balance handles most outdoor scenes well but can drift in mixed light or deep shade.
- Shade or cloudy presets: warm up skin tones that go blue in open shade.
- Custom white balance: use a gray card when color accuracy matters, such as for promotional images that will sit next to brand assets.
- RAW capture: gives you room to correct white balance in editing without degrading the file.
Phone Photography and Accessible Equipment Alternatives
You do not need a professional kit to make a natural portrait. A modern phone camera handles most of what a beginner needs.
A few ways to get more from a phone:
- Use portrait mode for background blur, but watch the edges around hair and instruments
- Tap to focus on the eyes, then lock exposure by holding the tap
- Shoot in open shade, never in direct midday sun
The light and the connection matter more than the gear. A relaxed subject on a phone beats a tense one on a flagship camera.
Outdoor Portrait Photography Tips for Difficult Conditions
Outdoor portrait photography tips matter most when the weather refuses to cooperate. For harsh midday sun, move the subject into open shade or turn them so the sun hits from behind. For wind, shoot with it or find a sheltered wall. For busy locations, get low or shoot tight to cut out clutter.
Overcast days are a gift. The whole sky becomes a softbox, and the light stays even for hours.
Natural-Looking Retouching and Editing
Retouching should be invisible. If a viewer can tell you edited the photo, you went too far.
Keep it simple:
- Clean up temporary blemishes, not permanent features
- Soften skin texture slightly, but keep pores visible
- Adjust white balance so skin tones stay true
The goal is the person on their best day, not a different person. Heavy smoothing and reshaping read as fake, and audiences spot it instantly.
Consent, Privacy, and Respectful Portrait Direction
Respect is part of the craft. Ask before you shoot, explain how the images will be used, and honor any limits the subject sets.
A short checklist before any session:
- Confirm where the photos will be published
- Agree on any images the subject does not want shared
- Get written permission for commercial use
A subject who trusts you will give you better expressions. Consent is not just an ethical duty. It is good photography.
Natural light is unpredictable, and so are people. James DeSalvo Photography brings music industry experience to every session, from artist headshots to live performance coverage and promo shoots for labels and managers.
Frequently Asked Questions
What is the 20-60-20 rule in photography?
The 20-60-20 rule is a rough guide for splitting a shoot's time and attention: about 20 percent on setup and technical checks, 60 percent on directing and shooting the subject, and 20 percent on review and refinement. For natural looking portraits, that middle 60 percent matters most because it covers the conversation, prompts, and small adjustments that keep expressions relaxed. Treat the numbers as a reminder to spend less time fiddling with gear and more time with the person in front of your lens.
How do you pose someone who feels awkward in front of a camera?
Give them something to do instead of a pose to hold. Ask them to walk toward you, adjust a sleeve, or answer a question mid-frame. Movement and small tasks occupy the part of the brain that usually tenses up. Start with easy full-body frames before moving to tighter shots, and show them one good frame on the back of the camera so they can see the session is working. The goal is a repeatable workflow, not one lucky shot.
What camera settings work well for natural-light portraits?
Start with a wide aperture around f/1.8 to f/2.8 for shallow depth of field, a shutter speed of at least 1/200s for a moving subject, and ISO low enough to protect skin tones, raising it only as the light drops. Use single-point autofocus on the eye closest to the camera. Focal length matters too: 50mm to 85mm on a full-frame body keeps faces proportioned naturally. Test these settings in open shade before you shoot in direct sunlight.
How can you take flattering portraits in harsh sunlight?
Move the subject into open shade, such as the shadow of a building or a tree, where light is soft and even. If you must shoot in direct sun, turn the subject so the light hits from the side or behind, and use a reflector or a nearby light wall to bounce fill onto the face. Midday sun is the hardest to work with, so schedule sessions for early morning or late afternoon when the light is lower and warmer. Backlighting with a rim light can also turn harsh sun into a deliberate look.