 ultimate-guide
Branding Photography for Online Course Creators: 2026 Guide
Table of Contents
- Why Branding Photography Matters for Online Course Creators
- Building a Complete Brand Photography Strategy for Course Creators
- Creating a Branding Photography Shot List for Course Creators
- How to Prepare for a Branding Photoshoot
- How Long Does a Branding Photoshoot Take
- Personal Branding Photography Best Practices
- Low-Budget DIY Workflows and Equipment Recommendations
- Measuring the Impact of Your Brand Photography
- Frequently Asked Questions
Last Updated: October 9, 2026
Why Branding Photography Matters for Online Course Creators
Branding photography for online course creators is no longer optional, it's the difference between a course that blends into the noise and one that commands attention before a single student enrolls.
Most course creators focus entirely on content and overlook the images that frame it. That's a costly mistake: your sales page, email sequences, social media, and learner onboarding all depend on consistent, professional imagery.
At James DeSalvo Photography, we've worked with creators across disciplines, from music producers launching production courses to fitness instructors building online academies.
The real work isn't just taking good photos, it's building a complete visual system that reinforces your brand identity at every touchpoint.
Building a Complete Brand Photography Strategy for Course Creators
A branding photography strategy for online course creators requires thinking beyond individual images: you need a cohesive visual narrative that works across your sales page, email marketing, social platforms, and the learner experience.

Start by identifying your core visual elements: color palette, aesthetic (minimalist, warm, high-energy, corporate), and the emotions you want learners to feel.
The second layer is functional imagery: hero images for your sales page, lifestyle shots showing you in your element, detail shots of your workspace, and authentic moments that humanize you.
Photography for Sales Pages and Conversion
Your sales page is where casual browsers become paying students. The imagery here has to work harder than anywhere else.
Beyond the hero, you need supporting images that break up text, illustrate key benefits, and show the course experience. If you're teaching music production, show yourself at the mixing console; if you're teaching a creative skill, show the work in progress.
The most effective sales page photography tells a mini-story. It shows who you are, what you teach, and implicitly answers the question every prospect asks: "Can I trust this person to teach me?"
Visual Consistency Across the Learner Journey
Once someone enrolls, they'll encounter your branding in email sequences, course modules, lesson pages, and community spaces. Inconsistent imagery fragments the experience and signals amateurism.
Establish a visual standard: consistent lighting, styling, and color treatment. If your sales page photos are warm and natural-lit, don't switch to harsh studio lighting in email templates. The goal is recognition, a learner should know it's your content before reading a word.
Many creators overlook module preview images and lesson thumbnails. These small images compound across dozens of lessons, and consistent imagery here reinforces your brand and makes the course feel more polished.
Creating a Branding Photography Shot List for Course Creators
A shot list is your roadmap for a photoshoot. Without one, you'll waste time, miss essential images, and end up commissioning reshoots.
Essential Shots for Course Launches
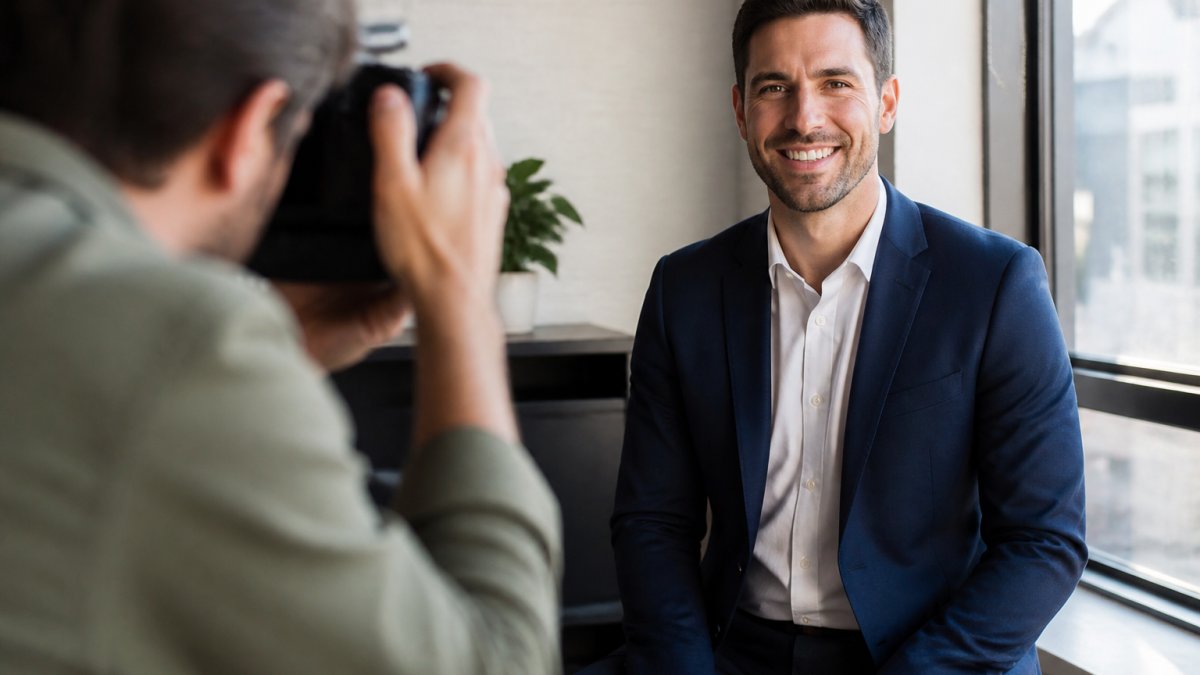
Your course launch needs specific imagery. Start with hero portraits, close-ups and three-quarter shots of you in professional attire, looking confident and approachable, for email headers, social graphics, and sales page elements.
Next, capture yourself in teaching mode: at your desk mid-explanation if you teach online, or in action, hands working, focused expression, environment visible, if you teach a hands-on skill.
Include shots of your teaching space or studio.
Finally, capture detail shots: course materials, workspace setup, and tools or equipment relevant to your teaching. These work well in email sequences and social posts, adding variety while reinforcing your expertise.
Evergreen Content and Social Media Shots
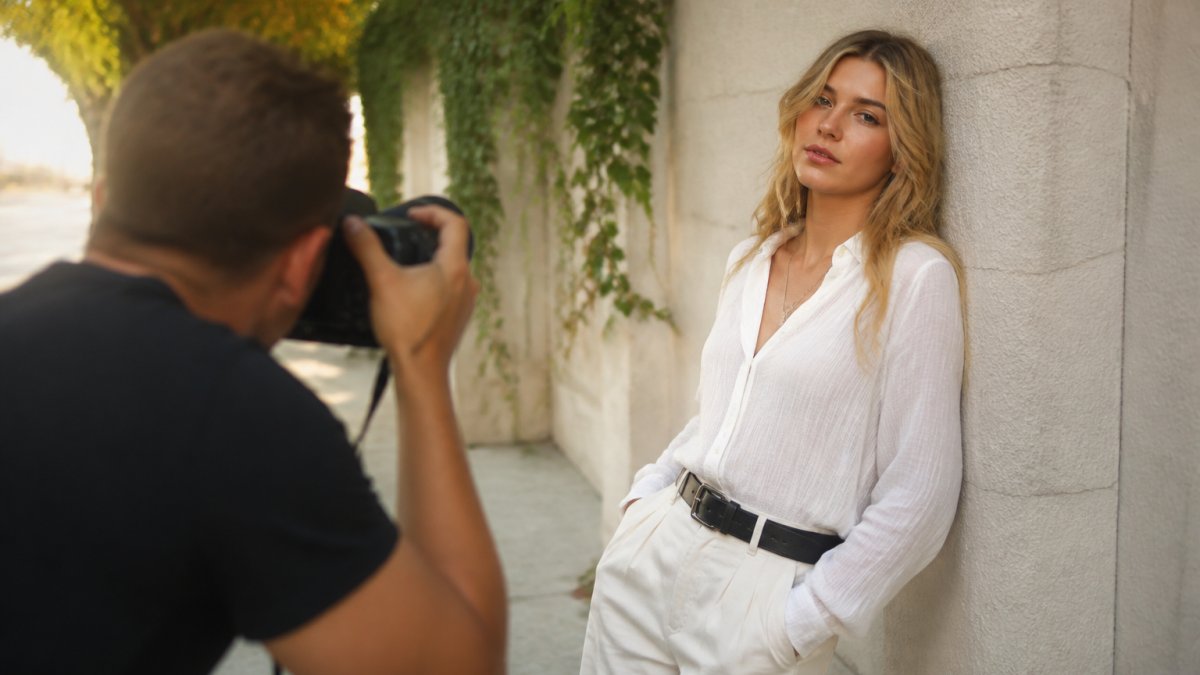
Beyond launch, you need imagery for ongoing marketing. Lifestyle shots of you working, thinking, or creating content can be repurposed across social platforms for months, and action shots of you teaching or engaging with students are endlessly useful for social proof.
Capture variety in framing and setting, wide shots of your environment, medium shots of you at work, close-ups of your hands or face. This prevents your social media from looking repetitive and gives you flexibility across post types and platforms.
| Shot Category | Primary Use | Frequency |
|---|---|---|
| Hero portraits | Sales page, email headers | 3-5 variations |
| Teaching/demonstration | Course modules, social proof | 4-6 shots |
| Environment/studio | Brand storytelling | 2-3 shots |
| Detail/hands-on work | Email sequences, social variety | 3-4 shots |
| Lifestyle/candid moments | Social media, authenticity | 4-6 shots |
How to Prepare for a Branding Photoshoot
Preparation determines whether a shoot yields usable images or becomes an expensive learning experience. The more you prepare, the more efficient the shoot and the better the results.
Defining Your Brand Identity and Visual Direction
Before booking a photographer, get clear on your visual identity. Create a mood board of images that resonate with how you want to be perceived, and study other course creators in your space: what colors, lighting styles, and compositions align with your brand?
Write a brief for your photographer describing your course, teaching style, ideal student, and the emotions you want your imagery to convey. Share your mood board, the clearer you are, the better the delivery.
Consider your course's visual needs: if you teach something hands-on, your photographer must understand the technical aspects well enough to capture meaningful action; if you teach online, discuss making a home office or studio look professional on camera.
Logistics, Styling, and Location Scouting
Choose a location that reinforces your brand. If you teach from a specific environment, a studio, home office, or classroom, shoot there; otherwise scout somewhere authentic.
Plan your styling carefully: wear what you'd wear while teaching, but slightly more polished. Colors should complement your brand palette and work on camera; avoid busy patterns. Bring multiple outfit options for variety.
Logistics matter. Confirm lighting conditions at your chosen time, plan for travel and setup, and brief anyone appearing in photos on how to act naturally. If you're shooting in a shared space, secure it and manage interruptions.
How Long Does a Branding Photoshoot Take
Most branding photography shoots for course creators take four to eight hours, depending on scope and location. A focused shoot targeting your essential shot list runs four to six hours; a comprehensive shoot with multiple outfit changes, locations, or lifestyle scenarios can extend to eight hours or longer.
Actual shooting time is often shorter than total time spent, setup, lighting adjustments, outfit changes, and breaks add hours. A professional photographer builds this into their timeline.
Planning for Turnaround and Delivery
After the shoot, expect editing and delivery to take one to three weeks, depending on workload and editing scope. Discuss turnaround upfront, and if you need images urgently for a launch, communicate that when booking.
Most photographers deliver in batches, initial selects within a week, full edited files following. Some include a set number of revisions, so clarify what's in your agreement.
Plan your launch timeline around photo delivery. If you need images for your sales page, email sequences, and social media before launch, factor in at least two weeks from shoot to usable files, rushing often means less polished imagery or missed deadlines.
Personal Branding Photography Best Practices
Your personal brand is inseparable from your course brand. How you present yourself visually shapes how learners perceive your credibility and relatability.
Authenticity, Accessibility, and Inclusive Representation
The most effective personal branding photography shows the real you, not an idealized version. Learners connect with authenticity. If you're naturally expressive and energetic, your photos should reflect that.
Accessibility matters. If you teach diverse student populations, your imagery should reflect that inclusivity, it's not just ethical but practical, since prospective students are more likely to enroll if they see themselves represented.
Avoid overly produced, stock-photo aesthetics, generic corporate portraits don't build connection. Natural lighting, genuine expressions, and authentic environments outperform sterile studio setups.
Consider representation: if you teach a global audience, does your photography reflect that? If your course serves underrepresented groups, are those communities visible in your promotional imagery?
Low-Budget DIY Workflows and Equipment Recommendations
Professional photography doesn't require a professional photographer or expensive equipment. Many creators build strong visual brands with DIY workflows and minimal gear.
Start with your smartphone camera, modern phones capture excellent images in good lighting.
Lighting is your biggest use point. Natural window light is free and often better than artificial light.
Keep backgrounds simple and uncluttered.
DIY editing software like Lightroom or free tools like Snapseed and Canva let you achieve consistent color grading and styling.
If you're shooting video for your course, the same principles apply: good lighting, clean audio, and consistent framing matter far more than expensive equipment.
The trade-off with DIY is time and learning curve. You'll spend more hours getting fewer shots.
Measuring the Impact of Your Brand Photography
Strong branding photography should measurably improve your course business. Track what changes after you launch professional imagery.
Monitor enrollment rates before and after introducing new photography, if sales page conversion improves, your imagery is working.
Pay attention to student feedback and testimonials. Do new students mention your professionalism or credibility?
Finally, assess how your imagery affects your positioning. Can you charge more for your course?
Branding photography for online course creators is an investment in how the world perceives your expertise.
James DeSalvo Photography specializes in music industry photography, working with musicians, bands, labels, and promoters to build professional visual brands.
Frequently Asked Questions
Why is professional branding photography important for online course creators?
Professional branding photography builds trust with potential students before they enroll. High-quality images on your sales pages, course preview videos, and social media signal credibility and investment in your course. Students are more likely to commit when they see a polished, consistent brand identity. Branding photography also differentiates you in a crowded market and creates content you can reuse across marketing channels for months.
What should be included in a branding photography shot list for course creators?
A comprehensive shot list includes headshots and lifestyle portraits for your sales page and instructor bio, course-in-action shots showing you teaching or demonstrating, detail shots of materials or tools you use, environmental shots of your workspace or teaching setting, and candid moments that convey approachability. Add variety in framing, background, and emotion. Prioritize shots that match your course topic: a fitness instructor needs action shots, while a writing coach might focus on desk workspace and one-on-one teaching moments.
How do you choose the right photographer for your personal brand?
Review portfolios to ensure the photographer understands your course topic and audience. Ask for examples of work with creators or instructors in your field. Discuss your brand identity, visual goals, and the specific shots you need. Request references from past clients about communication, reliability, and turnaround time. Clarify usage rights and whether you own the images outright for unlimited marketing use. A good fit is someone who listens to your vision and can execute it consistently.
How can branding photography improve course sales and student trust?
Consistent, professional imagery across your sales page, email marketing, and social channels builds recognition and trust. Students feel more confident enrolling when they see a polished instructor brand. Authentic lifestyle photography humanizes you and creates emotional connection, while high-quality headshots convey professionalism. Video thumbnails and preview clips with professional photography increase click-through rates. Over time, a cohesive visual brand makes your course memorable and shareable.
What is the difference between headshots and lifestyle branding photography?
Headshots are close-up portraits focused on your face and shoulders, ideal for bios, profiles, and professional directories. Lifestyle photography shows you in context: teaching, interacting with students, using course materials, or working in your environment. Lifestyle shots feel more authentic and relatable, while headshots convey professionalism and credibility. Most course creators benefit from both: headshots for formal sections and lifestyle images for course previews, social media, and storytelling.
How long does a branding photoshoot typically take?
A focused branding session for a course creator usually runs 2-4 hours, depending on the number of locations, outfit changes, and shot variety you need. Expect to spend time on setup, lighting adjustments, and multiple takes per shot. Factor in post-shoot editing and retouching, which can add 1-3 weeks depending on the photographer's workload and your delivery timeline. Discuss turnaround expectations upfront so you can plan your course launch or marketing campaign accordingly.
Can you do branding photography on a tight budget?
Yes. Start with a focused shot list of your highest-priority images: a few strong headshots and 2-3 lifestyle shots. Limit location changes to reduce shoot time. Wear solid, on-brand colors and minimal accessories. Use natural light when possible to reduce lighting setup costs. Consider a shorter session with a newer photographer building their portfolio, or explore phone photography with a tripod and remote trigger for some shots. Prioritize quality over quantity; a few excellent images outperform dozens of mediocre ones.